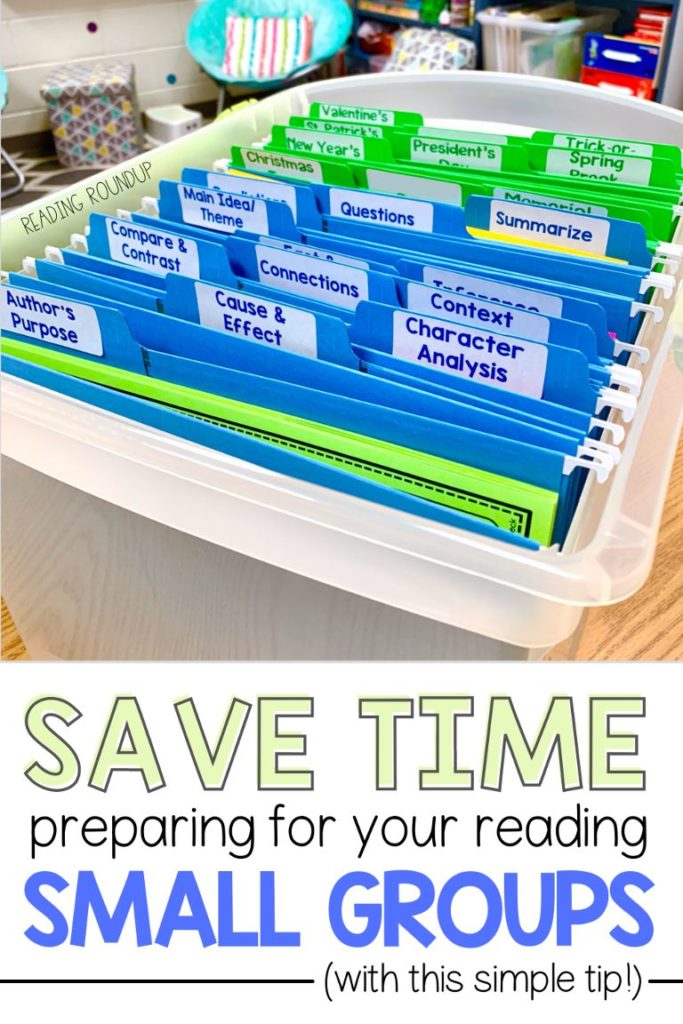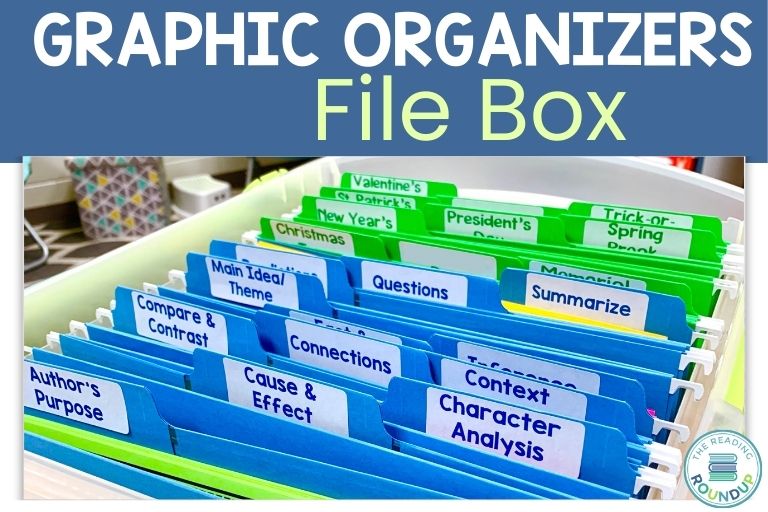
Raise your hand if you’ve ever been in the middle of a small group reading lesson and realize you forgot to make copies of the reading response sheets? Or I’m sure we’ve all experienced a battle with the copier minutes before students are scheduled to arrive. I definitely experienced these mishaps, until I figured out a simple hack that helped me work smarter. Enter my reading graphic organizers file box to save the day! This organizational tip helped me ensure that I’m always prepared for my reading small groups!
This post includes affiliate links for which I may make a small commission at no extra cost to you should you make a purchase.
What are Reading Graphic Organizers?
You’re probably already familiar with reading graphic organizers and frequently use them with your students. But as a quick refresher, here are some of the common skills teachers use reading graphic organizers to reinforce:
- Author’s Purpose
- Character Analysis
- Compare & Contrast with a Venn Diagram
- Making Text Connections
- Making Inferences
- Making Predictions
- Main Idea
- Monitoring Comprehension
- Retelling
- Summarizing

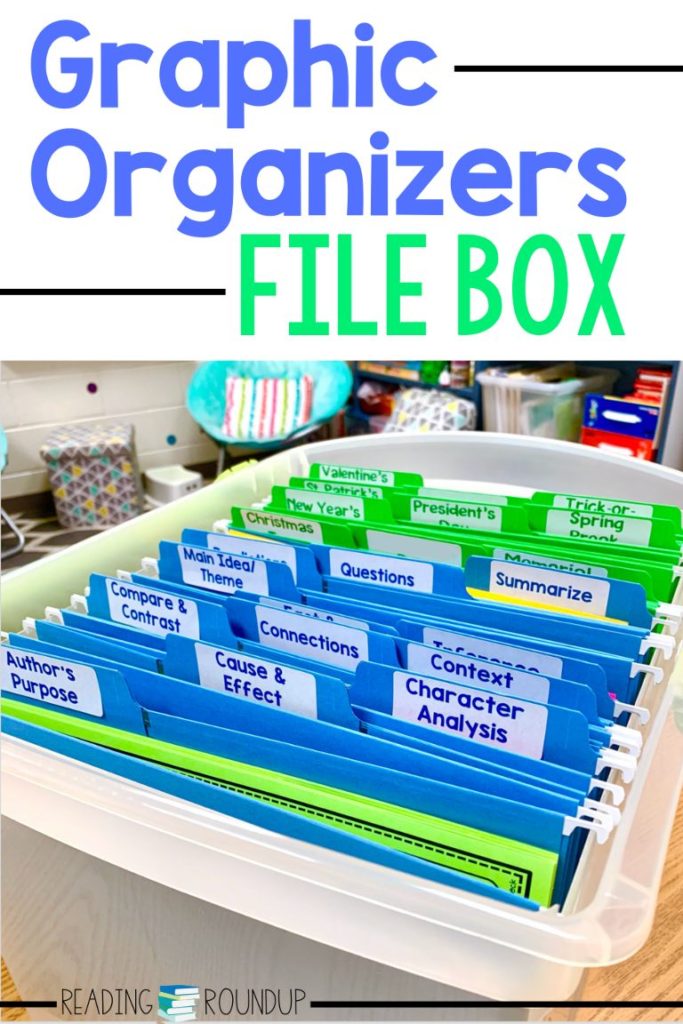
Reading Graphic Organizers File Box
I use graphic organizers ALL the time with my intervention groups. They are a simple scaffold to help struggling readers record their thinking about a text to deepen their understanding. Students can use them before, during, and after reading to monitor their comprehension.
But a problem I kept having was not always being prepared or having the graphic organizers easily accessible when I needed them. Sometimes I’d have copier issues which prevented me from getting the copies I needed. Other times, I would realize during the lesson that students were struggling and would benefit from using a graphic organizer to record their thinking – but I wouldn’t have what I needed ready!
I finally realized I should always keep copies of all the reading graphic organizers I consistently use rather than remaking them. I wanted to work smarter not harder, by reusing them over and over again instead of wasting my precious planning time making more copies. Plus it cuts down on paper use – another bonus!

Setting Up Your File Box
Here are some simple steps for setting up your reading graphic organizers file box:
- Decide how you are going to store the graphic organizers. I like using a portable file box with hanging folders that I can keep right beside my guided reading table. But figure out what will work best for you!
- Choose the graphic organizers you often use. These are the graphic organizers I use.
- Print or make copies of the graphic organizers. I do not have more than 6 students in a group at one time, so I made 7 copies of each graphic organizer – including one for myself. Decide what quantity makes sense for you.
- Laminate the graphic organizers if desired.
- Make a folder for each skill to keep the graphic organizers grouped together. Label each folder for easier accessibility to quickly find what you need.
- Enjoy the feeling of always having graphic organizers ready to go when you need them!
Tips for Teachers
- Print the graphic organizers on cardstock, if possible, for more durability.
- I recommend laminating them for additional durability.
- If you do not want to laminate them, another option is to use dry erase pockets. I keep a set of these in my file box and add the graphic organizers when we’re ready to use them.
- Students can write directly on the laminated graphic organizers or dry erase pockets, which allows you to reuse them multiple times. I recommend using the ultra fine tip dry erase markers to make it easier for students to write text legibly in any smaller boxes.
- Another alternative to dry erase markers is having students write on sticky notes and adding them to the graphic organizer. Students (and teachers) LOVE using sticky notes! Typically I allow my students to choose which writing method works best for them.
- Add any other materials that you frequently use with your small groups. My students love doing a Making Words activity for each of the holidays, so I added those recording sheets to my file box as well.
- Want more tips for your reading groups? Then check out my Small Groups Blog Series.
This simple tip has definitely saved me so much time – plus it comes in handy during those moments when we have to change up plans last minute. I always have graphic organizers ready to go! Do you already have a box like this set up for your small groups? If so, what else do you include?

Want to Pin this for later?
